[Spring Security] OAuth2 실습 - Naver 로그인 구현
🐥 OAuth2 시리즈
👒 네이버 서비스 등록하기
https://developers.naver.com/products/login/api/api.md로 이동해서 오픈 API 이용 신청을 누른다.
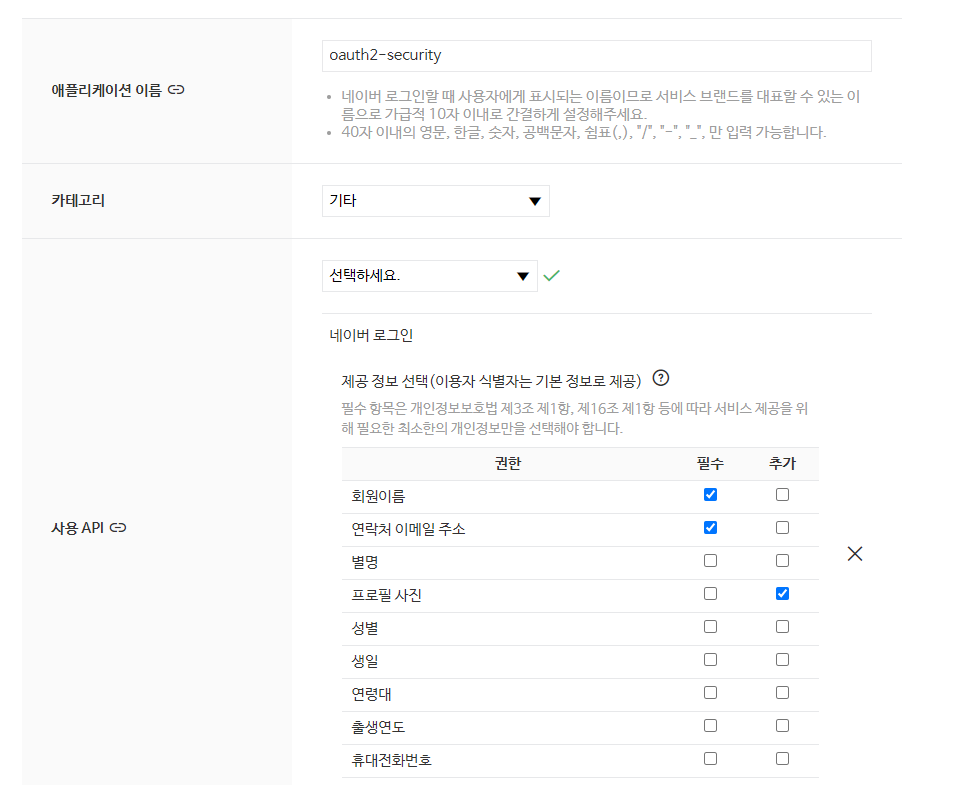
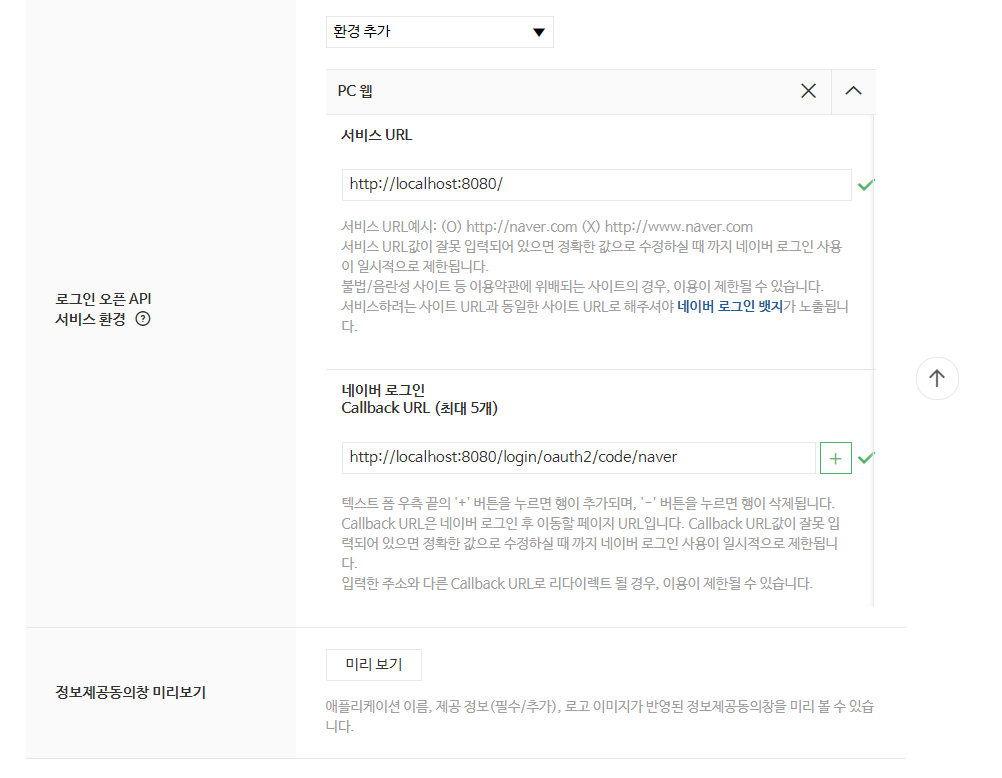
해당 사항을 입력해주고 생성하면 구글처럼 Client ID와 Clinet Secret이 나온다.
이제 Client ID와 Clinet Secret을 프로젝트에 설정해보자.
application-oauth.yml에 코드를 추가해주자.
네이버에서는 스프링 시큐리티를 공식 지원하지 않기 때문에 provider에 대한 값도 수동으로 입력해줘야 한다.
application-oauth.yml
1
2
3
4
5
6
7
8
9
10
11
12
13
14
15
16
17
18
19
20
21
spring:
  security:
    oauth2:
      client:
        registration:
          google:
            client-id: your
            client-secret: your
            scope: profile,email
          naver:
            client-id: your
            client-secret: your
            redirect-uri: "{baseUrl}/login/oauth2/code/{registrationId}"
            authorization-grant-type: authorization_code
            scope: email,name,profile_image
        provider:
          naver:
            authorization-uri: https://nid.naver.com/oauth2.0/authorize
            token-uri: https://nid.naver.com/oauth2.0/token
            user-info-uri: https://openapi.naver.com/v1/nid/me
            user-name-attribute: response
authorization-grant-type: authorization_code는 해당 포스팅을 참고해주길 바란다.
⌚️ 네이버 로그인 연동하기
구글 로그인 연동에서 핵심 기능들은 대부분 구현했기 때문에 OAuthAttributes 클래스만 코드를 추가해주면 된다.
1
2
3
4
5
6
7
8
9
10
11
12
13
14
15
16
17
18
19
20
21
22
23

    public static OAuthAttributes of(OAuth2UserRequest userRequest, Map<String, Object> attributes) {
        String registrationId = userRequest.getClientRegistration().getRegistrationId();
        String userNameAttributeName = userRequest.getClientRegistration().getProviderDetails().getUserInfoEndpoint().getUserNameAttributeName();

        if (ProviderType.NAVER.name().toLowerCase().equals(registrationId)) {
            return ofNaver(registrationId, "id", attributes);
        }
        return ofGoogle(registrationId, userNameAttributeName, attributes);
    }

    private static OAuthAttributes ofNaver(String registrationId, String userNameAttributeName, Map<String, Object> attributes) {
        Map<String, Object> response = (Map<String, Object>) attributes.get("response");

        return OAuthAttributes.builder()
                .nickname((String) response.get("name"))
                .email((String) response.get("email"))
                .picture((String) response.get("profile_image"))
                .registrationId(registrationId)
                .attributes(response)
                .nameAttributeKey(userNameAttributeName)
                .build();
    }
프론트 단에 /oauth2/authorization/naver를 추가해 테스트해보면 로그인이 잘 동작하는 걸 확인할 수 있을거다.
OAuth2를 위한 로그아웃은 따로 구현하지 않아도 자체 로그인 포스팅 때 구현했던 로그아웃 엔드포인트로 로그아웃이 성공적으로 이루어진다.
이것으로 Spring Security 6 버전과 OAuth2의 실습이 끝났다.
전체 코드는 깃허브를 참고해주길 바란다.
참고
Leave a comment